

01 Oct From unused wall to functional training area: planning the space
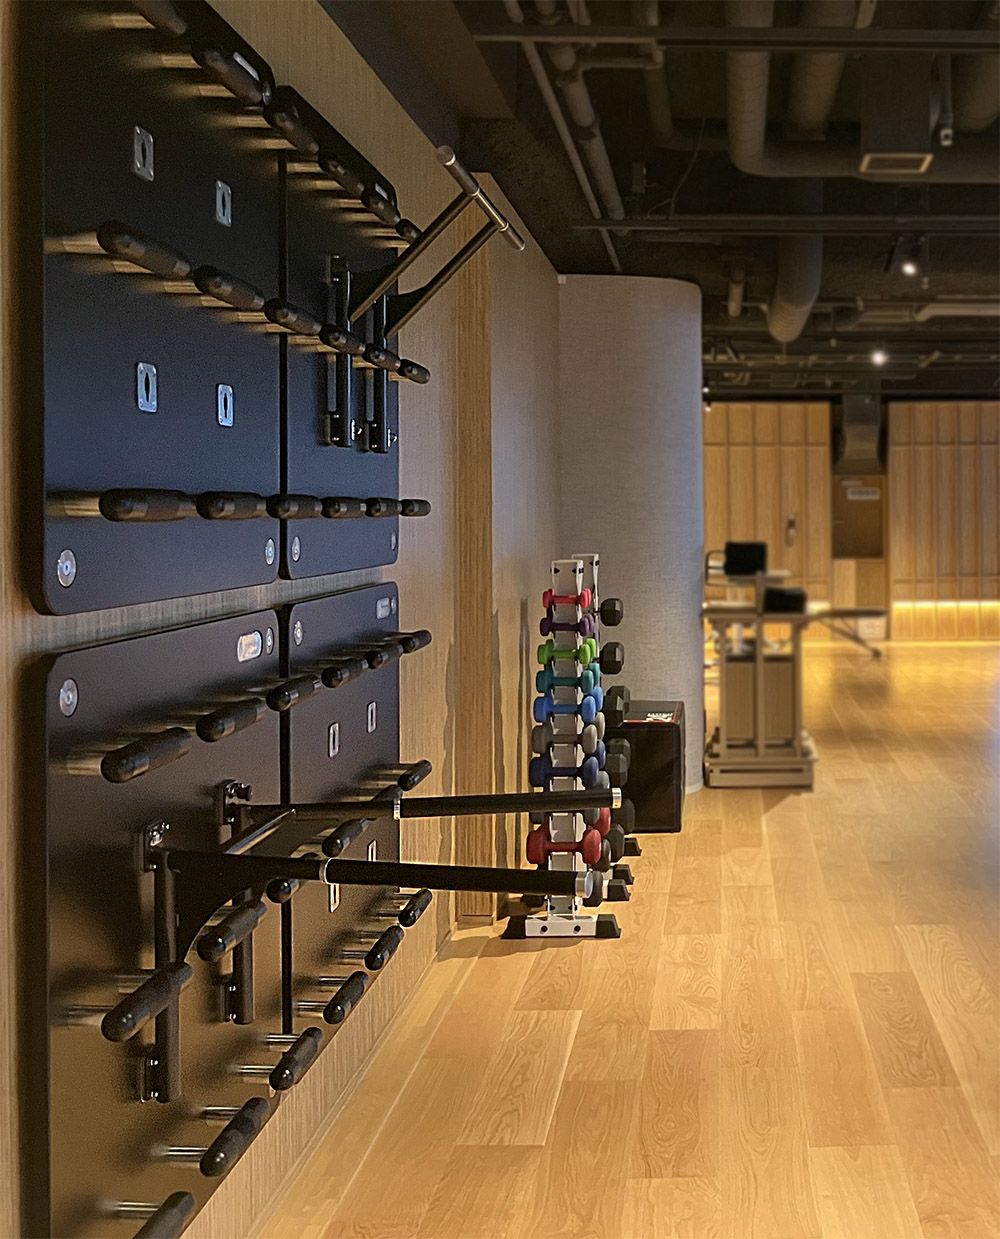
An unused wall can become a useful training resource when the installation is planned around real sessions. Training Wall combines panels and interchangeable tools to create a functional area that fits the room and the service offered. The aim is to make the available surface productive while preserving the floor space, circulation and visual order that a professional facility needs.
Start with the session, then choose the panels
Begin with the dimensions, circulation routes and number of people who will train at once. Then select panels and tools according to movement patterns, storage needs and the coach’s workflow. A compact arrangement can support several tasks if attachments are accessible and transitions are easy to manage.
A personal training studio may prioritise fast changes between a small number of tools. A clinic may need comfortable access and close supervision. A club may want several athletes working in parallel. These are different briefs, even when the available wall dimensions are similar. Writing down the main activities helps avoid selecting a configuration simply because it fills the wall.
A compact installation still needs working space
A professional installation also needs appropriate wall structure, clearances and assembly according to the manufacturer’s instructions. The resulting layout should balance training function and visual integration with the rest of the room.
The equipment footprint and the exercise footprint are different. A compact panel can support a task that reaches into the room, while another exercise stays close to the wall. Consider the person, the resistance path and the coach’s position together. Storage should be nearby but should not occupy the area needed to perform the movement or change tools.
Check the layout against a real session
Before finalising a wall configuration, place the planned exercises on a simple floor plan. Mark the participant, the direction of movement and the coach’s position for each one. Include the area used to collect and return tools. This reveals conflicts that a product list cannot show, such as an access route crossing a working cable or a storage location occupying the space needed for a lateral movement.
A useful starting point is to plan the smallest configuration that supports the facility’s priority sessions, then consider how it could develop. This is a planning approach, not a recommendation to omit installation requirements or compromise exercise space. Discuss the wall construction, fixing requirements and equipment compatibility with the appropriate professionals before installation. Once the layout is in use, review where trainers wait, move tools or change exercises unexpectedly. Those observations can inform future additions more effectively than filling every available section of wall at the outset.
Four stages for designing a useful training corner
- Measure the usable wall and the clear floor area in front of it, including access routes.
- Select the main session formats and the movement tasks they require.
- Choose panels, tools and storage as one configuration, checking compatibility and installation needs.
- Review a typical session through the proposed layout before finalising the equipment list.
A successful training corner earns its place through daily use. The strongest design is the one that lets the professional deliver the intended sessions comfortably and adapt them as the service develops.
Plan your training space with the Training Wall configurator or contact our team to discuss a configuration suited to your needs.
Sources and resources
The organisation examples and practical stages are editorial suggestions for this article. Adapt them to the objective, the participant and the equipment instructions.